Showing posts with label photo tips. Show all posts

Tuesday, March 29, 2011

PHOTO TIPS FOR MOMS. {UTAH PORTRAIT PHOTOGRAPHER}

TIP FOR MOMS: THINK OUTSIDE THE BOX... (a Composition Lesson)

I am constantly thinking about this tip in my profession, because it really helps me to give my clients the variety of images that they desire. So, here's a simple tip or technique that will give you a little more variety to your pictures.

I can't tell you how many times when I was just starting out, that I had wished (after a shoot) or shooting my own kids, that I had moved in a little closer for detail shots OR that I had thought to maximize the surroundings and location (i.e. backing up... WAY back, to get more of a scenery type of shot). I shoot primarily with my 50 mm lens which is GREAT for portraits. BUT, I have found that in the past, I have tended to stay within a certain range of shooting and most of my images were either a headshot or a full body shot, but not much of in between or beyond that. I wasn't capturing the super close-ups of my kids faces (which often requires an additional lens... but not always) or maybe a great shot from the legs up (not completely full body). Or like I said before, my subject would take up most of the frame, but then the landscape or surroundings weren't used to their fullest potential.

THINK OUTSIDE THE BOX! Literally, when you are looking in your view-finder, always be thinking ahead, or what's beyond your view in your viewfinder. Example: "Okay, this shot is great, but what if I moved back just a little... or in a lot?" Depending on the capabilities of your lens, you can really get a wide range. If you can't get the range you want, then switch your lenses around while shooting (try a macro for close ups or a wide angle to give you an expansive feel). The sky is the limit! When you are shooting, MOVE around ALOT (even with a zoom lens). It's like exercise... expect to sweat! Get down low, then move to a higher plain than your subject. Get in close, move back just a little, recompose, then move back some more, recompose, move in again, try a different angle....repeat! You get the idea. Get your exercise as you are shooting! Move, move, move. Turn your lens on an angle for some of the shots (but don't over-do it with every shot). Instead of positioning your subject in the center of the frame, place them to the left or right. (If you have focusing issues with this, let me know and I'll teach you how to focus asymmetrically.) The more you move, the more variety you will have in your pictures. They will not feel stagnant and bore you after a while. You'll be surprised with what you get!

Tell me how this exercise worked! Did you find a nice collection of images with an artistic variety? What problems did you encounter? Let's chat!

Wednesday, February 23, 2011

PHOTO TIPS FOR MOMS. {UTAH PORTRAIT PHOTOGRAPHER}

Well, well! Can you believe I'm finally posting another photo tip? This week's tip is just a simple one (well, simple to talk about... but can be hard to practice).

Tip: work hard to get your exposures correct IN CAMERA.

Here's how:

Bribe your kid or a neighbor kid to sit in front of the camera long enough to really play around with your exposures. REALLY, you've got to kick your camera out of auto and start to experiment with the other settings. Now, if you have no desire to go pro, you really don't HAVE to learn manual shooting, BUT it makes a huge difference in getting the results you're looking for. YOU become in charge of the results of your photos, instead of the camera determining what they will be. So, if you are shy to shoot in manual, you can start with the "A-mode" or "S-mode"... most likely use the "A-mode" if you are doing portraits. But once you get used to using that mode, then go all the way and start shooting in manual. Really, why did you buy that big expensive camera with all those buttons anyway? Start using them!

I know, it sounds sooo scary, but what have you got to loose? If you don't have a paying client in front of you, or you are not shooting a special family event, then let loose! Find a time to purely practice in manual. Trust me, I have had plenty of overexposed or underexposed photos while trying to learn my manual settings. You have to be okay with getting a ton of crapy photos before you can get the amazing ones.

There you go... have a try at this and come back and tell me how you did. Tell me what problems you encountered because trust me, you will have problems or questions. Those questions will help me know where to go with the next discussion. So don't be shy to ask! I need your feedback!

Post-note: Why is it so important to get great exposures in camera when photoshop can fix so much?

You will find that many newbie photographers may shoot awful pictures but can brighten and enhance them in photoshop. It is true that photoshop can help with a lot of "mistakes", BUT photoshop should be a tool to enhance the beauty that is already in a well exposed photo, instead of "fixing" a photo. This is where you will see a difference between amateur photos and professional ones.

Even if you don't want to go pro... work hard to get great exposures in camera and let photoshop be a fun tool for enhancement. Save yourself the time and energy of "fixing" your photos by learning how to really use your camera. It will make a huge difference.

And now for a little stud muffin:)

aweb1


Monday, January 24, 2011

PHOTO TIPS FOR MOMS. {UTAH PORTRAIT PHOTOGRAPHER}

Happy Monday everyone! I've actually had a pretty decent Monday. For some reason, Monday's can be overwhelming to me. I don't know if it's just the idea of getting back into the swing of things after a nice weekend or what, but I have to try really hard to enjoy my mondays:) Maybe it was the sunshine this morning that started the day off right, or the fact that I actually caught up on my laundry (which NEVER happens). Whatever the reason, it's been a good one. I hope that you are having a good one, too!

Okay, so I had a friend ask me "how do I take backyard portraits of my children"? Well, good question. This is a typical place to shoot pictures of our kids in the warmer months. I think there are some basic elements that will help you to achieve great results. So here's a few tips:

IT REALLY IS ALL ABOUT LIGHTING AND CLEAN BACKDROPS!

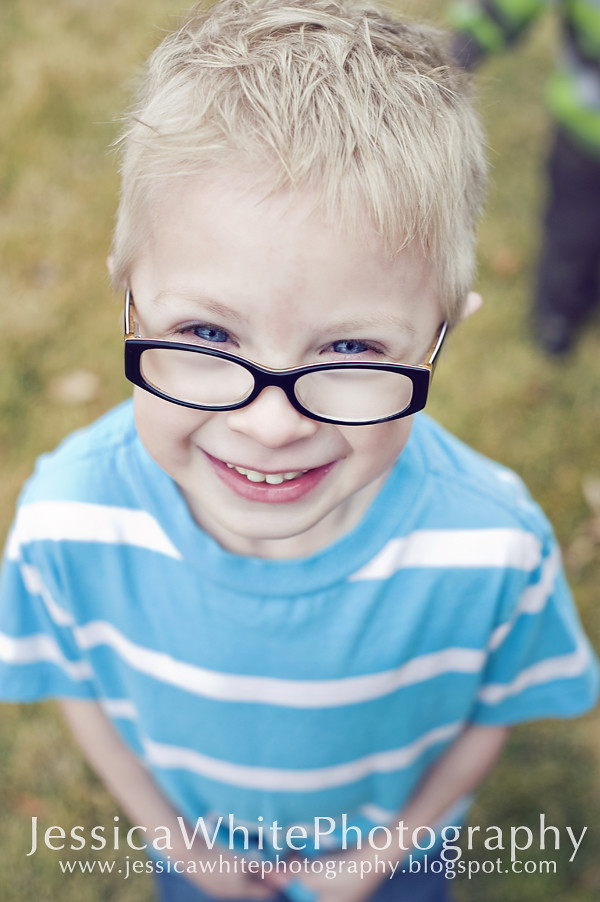
1) Find a good spot with a SIMPLE background. This might sound a little redundant from the last photo tip I gave, but it is one of the keys to getting a great photo. So, look for a fence, or a rock wall, or maybe even just the long lush grass (shooting downward at your subject. Try to avoid swing sets, scattered toys, etc. You want your background as simple as possible. Another great tip is to move in closer (or zoom in) to your subject, so they take up most of the frame. The photo is about your child right, not necessarily the background? Don't get too overwhelmed with backgrounds or trying to find the perfect spot, just find something that is simple, something that won't stick out in the back of your child's head. Find a background that will fade away from your subject, especially at a close range. (Use a wide aperture like 2.8 and if you are close enough, your background will only be a blur, literally. If you don't know much about aperature, what it does or how to change it, let me know and maybe that can be our next discussion. For now, put it in A-mode and set it to 2.8. If your lens will not open to a 2.8, then go as low (or as wide) as you can.

2) Once you've found a spot that is good, then you need to evaluate the light. Is the light direct? Or is your spot in open shade? Is it back-lit? Depending on the light you are shooting at, your results will vary dramatically. For starters, I highly recommend shooting in open shade. What is open shade? Well, it is just what it sounds like: open shade is simply an area out-doors that is shaded from the direct light of the sun, therefore being illuminated by reflected light.

If your backyard does not have good open shade (and let me tell you, mine does not), then you either a) have to create some open shade, or b) try your front yard (or another side of your home). You may even need to wait for the light to change in your yard. Early morning or late evening will work best to create these open shade areas.

So, how do you create open shade if you can't shoot anywhere else? I know this sounds tedious, and time consuming (and it can be), but you can put up a white sheet (not a colorful one... or it will cast a color on your subject that might be unpleasing). Find a way to secure it, or have grandma or a friend hold it so that it blocks out the direct light where you are shooting. A big reflector is nice to block light, as well. But, if you don't have one, just find a sheet or a blanket.

Once you've achieved nice, even light over your subject, you are ready to shoot! Pay attention to what's going on in your area of view within the camera. Keep checking your light (open shade) your background as you move, etc. When you or your subject move, is the background still simple, or do you now have a swing set distracting in the background?

I NEED YOUR FEEDBACK. I would like to know if my photo tips are too simplified or too complicated. I'm not sure who my audience is. So please SHARE SOME LOVE and comment away! I hope that I can make these photo tips meaningful to you! Oh, and please feel free to ask questions. Your question just may be the next topic of discussion!

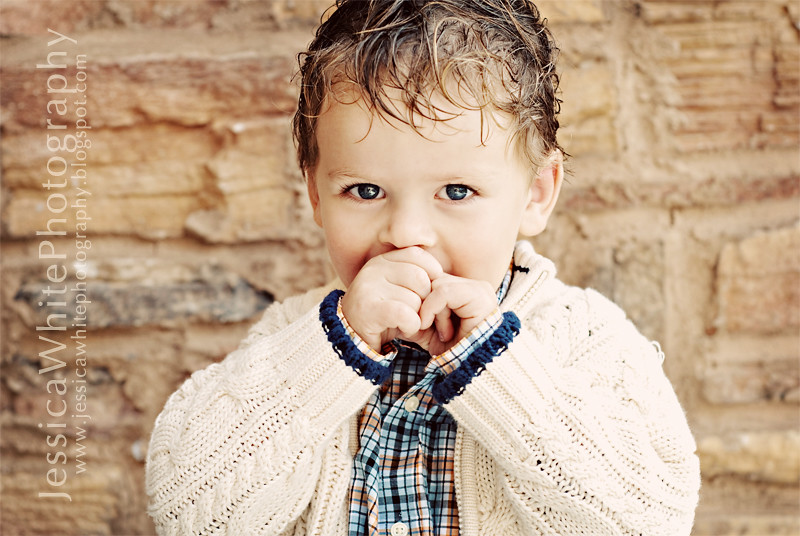
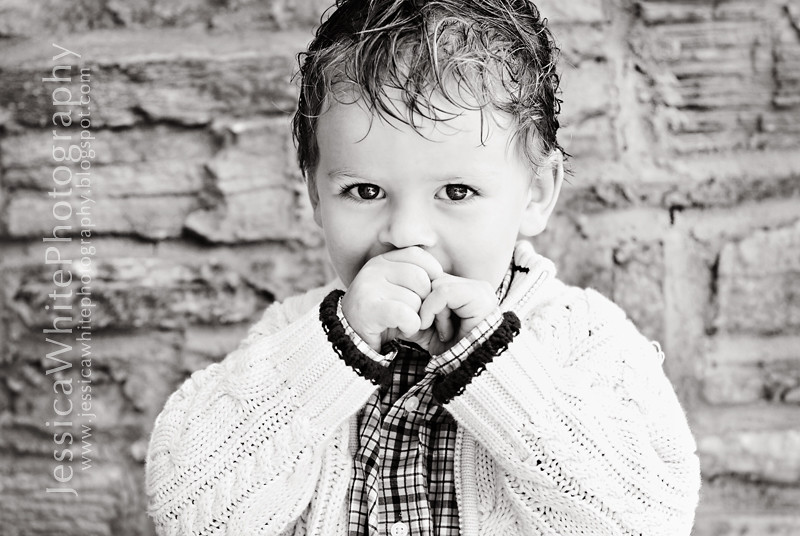
Here is an example of a backyard (well, front yard) portrait...

I was doing a newborn session at someone's home, when the mother asked me if I could snap a few photos of her boy. We went outside to find a nice spot. I quickly found out that the backyard wasn't the best spot because the light was too directional and the boy was squinting (even in the open shade area we found near the house. So, I took the child to the front yard, up to their porch. We found open shade, and a nice rock backdrop. So, once I found all the elements I was looking for, then we started to shoot. I zoomed in pretty close on this little guy so that the picture would be all about him, and not where he was located.


Wednesday, January 12, 2011

PHOTO TIPS FOR MOMS. {UTAH PORTRAIT PHOTOGRAPHER}

Okay, here goes the first round! I've decided to start blogging tips to those of you who have a camera, but don't know what to even do with it:) You know who you are...you're the mom that got that amazing new camera for Christmas... 2 years ago...and you still haven't really even used it because you just don't know quite what to do with it. Maybe you've never taken it out of auto? Or maybe you have no clue what all the buttons do, despite reading the manual. Well, let me just tell you... everyone has a starting point. It was not long ago that I was in your shoes and had NO CLUE about natural light photography, or better yet... how to make a photo look good in natural light. I had no clue what an ISO does or why I should even bother with looking at a histogram (you know, the thingy on your LCD that looks like a graph of some sort.) Yeah, have I lost you yet? Well, hang tight.

If you already understand the terminology above really well, then this blog post isn't for you. If you have a basic understanding (like you've read about it in your manual and tried it out a few times), then you're in luck! This post is for you!

So many people have helped me along my way as I have learned photography. I feel so grateful for even the smallest of tips that friends and associates have happened to mention to me. They've helped me to refine my photography, my knowledge and skills. I feel that it is time that I give back in some way. Now, I do NOT proclaim myself as a know-it-all photographer. In fact, I'll admit that I still have much to learn. And (side note), my way isn't necessarily the right way, because there are different ways to photograph the same subject, different ways to obtain a good exposure, and different ways to evoke emotion in a photo.

So, with all this said. Shall we start? I would love any and all comments. And, if you have a new question, please email me and I just might be able to answer it in the next tip post.

The first question comes from Laurie. She asked me: "How do I get good lighting indoors? And how do I "set the stage" for my photos"

For this question, I am assuming that you are shooting with an SLR camera, with NO FLASH... So turn your flash off and get ready to take your camera out of auto.

Laurie, I hope I can give you good advice in this category. Lighting indoors, especially natural lighting is definitely tricky. It has been the toughest thing for me, until I upgraded to my Nikon D700. BUT, I know that not every mom out there is going to rush in to the camera shop to buy a camera for thousands of dollars just so they can take some great shots of their kids indoors.

Sooooo, my best recommendation with lighting indoors is to:

1) find the BEST spot in your house with the most light. Instead of looking for the "cutest" room or the biggest space, look for the most well light room. It may even be a bathroom or a spare bedroom, etc. The background is not so important as the lighting. And if you are shooting wide open (meaning a really wide aperture... like 2.8 or lower, the background is going to fade out nicely into a lovely soft haze. So your background will not be distracting). So set your camera in either manual mode or A-priority and set your aperture for something wide open (a low number). Next, pay attention to the light in your house during the day. Does it fill up with light in the early morning or later in the evening? Notice how the light in the room is considerably cooler in the morning hours verses the evening. You know your own house well, so you should be able to find a great spot without too much trouble, just think outside the box. One thing you want to make sure is that you are shooting in nice even light (no direct light coming through the window and falling onto your subjects face). If you have nice "soft" light, it will give a smooth appearance to the your kids' faces, making their skin look much softer and creamier.

2) Shoot CLOSE to your light source. I.e. your window, sliding door, etc. The closer you can get to your light source, the easier it is to get a nice exposure without having to play with your ISO too much. (If you're not sure what an ISO is, then let's talk about that in the next discussion). Just remember, the farther away from your light source, the trickier it gets to expose properly. Besides, window light is GORGEOUS on people. So think close... light a few feet away.

3) Once you've found the "good" light in your home, now you have to figure out the best way for it to flatter your subject. You obviously want your subject's face towards the window (whether on an angle or directly facing it). Have your subject move their face back and forth in front of the window and watch the light change their features. (obviously try this with a willing subject, like an older child or your husband...ha! If he is willing!). You will notice that the light will either flatten out their features or make them more prominent depending on the way the light falls on their face.

4) Use a reflector. You do not have to go out and buy a reflector. Find a big white sheet or white poster board... Anything light that will reflect well. Try it out and it may be just the key to properly lighting your subject's face.

Now, I know what you're thinking... but my children will never sit still long enough by the window for me to take pictures. I COMPLETELY understand this dilemma. You have to get creative. Example, if you have a nice soft bed near window light, then tell your child that you are going to play "popping popcorn" while you are jumping on the bed...be creative. Be crazy fun so that they feel like it's play time, not "sit and smile" time. Even if you want more "posed" pictures of your kids, and maybe you don't want them jumping crazy up and down for all of them, think quickly on your toes and make sure to snap some shots when they sit still for a minute, laughing with a NATURAL smile on their face. It only takes a fraction of a second to capture that image, so let them be crazy... and just wait patiently for that moment. If you don't have a bed to keep them contained upon, then think of a silly game or have them read books (anything that will get them to sit long enough for you to shoot). The point is, to capture them in their environment, and to capture their real expressions. Sometimes (and my husband will attest that I do this), we think we HAVE to get the "perfect" picture of our child. We can try so hard to get them to pose a certain way... and they will do everything BUT pose the way you want them to:) So, relax a little and let the child take the lead. They may be in a more silly mood that day... so let them be! Let go and have fun with them and you may just find that you just got the COOLEST shot of them, something that you would not have thought up if you were "in charge". If all else fails, take a break and come back to it another time.

Okay, and you asked about setting up a shot, or how to "set the stage". The answer to this question varies as much as the styles that you see with each photographer. My style is fairly clean. I want my backgrounds to be simple so they don't distract from my subject. I will look through my lens and see what I'm getting before I even have my child come into the shot. If I notice that my background is too distracting, then I change angles. Example: Say I don't like the recliner chair in my background, I may ask the child to sit on the ground and look up towards me. From this angle, all I see is the floor, usually a nice even background. (The shots of my son, a few posts back are angled downward to get the wood floor as the background. I didn't want my sofa and t.v. as part of the shot). I try to find soft even backgrounds for head shots. When I do a more environmental shot (like in a chair or playing on a bed, etc.), I sweep my eye around the area for any distracting objects. I remove clutter on night stands, straighten curtains, and take out any unwanted distracting items. Pretend that you are shooting for Better Homes and Gardens and that you want that section of your home to look impeccable.

I hope this helps! Please leave a comment, share some love or additional tips if you want. I'm off to bed...